当方の環境
| OS | Windows 10 64bit Home |
| Compiler | Microsoft Visual Studio (2017 Community) |
| CPU | インテル® Core™ i7-4770 プロセッサー |
| RAM | DDR3 16GB |
参考にさせて頂きました
https://qiita.com/takahito-tejima/items/f820e16869ca4343a600
USDのリポジトリ
https://github.com/PixarAnimationStudios/USD/tree/v20.11
2020年10月31日現在、最新Releaseはv20.11です、JustNowで新しくなった感じですね。
こちらのReadmeにもビルド方法が書かれていますので、参考にしていきます。
ツールの準備
Python 2.7のインストール
【結果として】Python2.7でusdを使うつもりがなければ、Python3でも大丈夫でした。Python3のビルドを下の方で試して、成功しました。
2.7は私は一切触っていないので、まずはここからです。
https://www.python.org/downloads/release/python-2718/
こちらから64ビット版のインストーラをダウンロードし、C:\Python27にインストールしました。2020年10月31日現在、最新バージョンは2.7.18のようです。サポートはとっくの昔に終了しましたが…。)
普段はPython3を使用していますので、Python2はPathを通さないようにインストールします。
NASMのインストール
NASMは初めて聞きました。
This is the project webpage for the Netwide Assembler (NASM), an asssembler for the x86 CPU architecture portable to nearly every modern platform, and with code generation for many platforms old and new.
NASM (required for Imaging on Windows)
https://github.com/PixarAnimationStudios/USD/blob/v20.11/README.mdより
なるほど…。とりあえず必要みたいなので入れていきます。2020年10月31日現在、最新Stableバージョンは2.15.05のようです。
https://www.nasm.us/pub/nasm/releasebuilds/2.15.05/win64/nasm-2.15.05-installer-x64.exe
普通にインストーラを起動すると、「システムワイドにインストールするなら管理者でやってね」と言われたので、今回はインストーラは管理者で実行しました。
- Install for anyone using this computer, Next
- NASMだけにチェックを入れてNext
C:\Program Files\NASM, Next- Do not create shortcuts, Next
- Close
…Do not create shortcutsといったのに、デスクトップにはがっつりとショートカットが居ましたね汗
CMake
CMakeLists.txtによると、CMakeは3.12以上である必要があるみたいです。
CMakeはインストールしていましたが、3.14、最新Stableは3.18.4なので、この機会にアップデートします。https://cmake.org/download/
インストールは特に難しいことはありません。
Visual Studio
当方はVS2017 Communityをインストールしています。オプションだったかは忘れましたが、のちに「VS 2017 用 x64 Native Tools コマンドプロンプト」を使用することになります。
PySideとPip
先ほどPython2.7を入れたディレクトリでコマンドプロンプトを起動します。
Microsoft Windows [Version 10.0.18362.1139]
(c) 2019 Microsoft Corporation. All rights reserved.

C:\Python27>python --version
Python 2.7.18

C:\Python27>
まずpipのアップデートを行います。
C:\Python27>python -m pip install --upgrade pip
DEPRECATION: Python 2.7 will reach the end of its life on January 1st, 2020. Please upgrade your Python as Python 2.7 won't be maintained after that date. A future version of pip will drop support for Python 2.7. More details about Python 2 support in pip, can be found at https://pip.pypa.io/en/latest/development/release-process/#python-2-support
Collecting pip
  Downloading https://files.pythonhosted.org/packages/cb/28/91f26bd088ce8e22169032100d4260614fc3da435025ff389ef1d396a433/pip-20.2.4-py2.py3-none-any.whl (1.5MB)
     |################################| 1.5MB 2.6MB/s
Installing collected packages: pip
  Found existing installation: pip 19.2.3
    Uninstalling pip-19.2.3:
      Successfully uninstalled pip-19.2.3
Successfully installed pip-20.2.4
上手く行きました、ではPySide2を…
C:\Python27>python -m pip install PySide2
DEPRECATION: Python 2.7 will reach the end of its life on January 1st, 2020. Please upgrade your Python as Python 2.7 won't be maintained after that date. A future version of pip will drop support for Python 2.7. More details about Python 2 support in pip, can be found at https://pip.pypa.io/en/latest/development/release-process/#python-2-support
Collecting PySide2
  ERROR: Could not find a version that satisfies the requirement PySide2 (from versions: none)
ERROR: No matching distribution found for PySide2
いろいろ試しましたが、結果うまくいきませんでした。実はQtForPythonをPython2系で使える(pipできる)のはLinux or MacOSだけ、のようです。
Python 2.7 interpreter is not supported. The official Python 2.7 binary package offerred on the official website is built using MSVC 2007, while the Qt libraries are built using MSVC 2015/2017. If you intend to use Python 2.7, build the interpreter yourself with MSVC 2015 or later, and build Qt for Python with it.
Python2系、WindowsでPySide2を使いたいなら、MSVC2015以降で自分でビルドして使ってね、と書いてありました。
READMEによると、PySide or PySide2と書いてありますので、めんどくさいのでPySide(無印)使います。
C:\Python27>python -m pip install PySide
DEPRECATION: Python 2.7 will reach the end of its life on January 1st, 2020. Please upgrade your Python as Python 2.7 won't be maintained after that date. A future version of pip will drop support for Python 2.7. More details about Python 2 support in pip, can be found at https://pip.pypa.io/en/latest/development/release-process/#python-2-support
Collecting PySide
  Downloading https://files.pythonhosted.org/packages/d2/66/7a36ed2ebc178ba1d8c25b5d196ffae3605f3d68ac25353c8f099b1c8f6b/PySide-1.2.4-cp27-none-win_amd64.whl (45.0MB)
     |################################| 45.0MB 4.7MB/s
Installing collected packages: PySide
  WARNING: The script pyside-uic.exe is installed in 'C:\Python27\Scripts' which is not on PATH.
  Consider adding this directory to PATH or, if you prefer to suppress this warning, use --no-warn-script-location.
Successfully installed PySide-1.2.4
無事入りました。そしてPyOpenGL
C:\Python27>python -m pip install PyOpenGL
DEPRECATION: Python 2.7 reached the end of its life on January 1st, 2020. Please upgrade your Python as Python 2.7 is no longer maintained. pip 21.0 will drop support for Python 2.7 in January 2021. More details about Python 2 support in pip can be found at https://pip.pypa.io/en/latest/development/release-process/#python-2-support pip 21.0 will remove support for this functionality.
Collecting PyOpenGL
  Downloading PyOpenGL-3.1.5-py2-none-any.whl (2.4 MB)
     |################################| 2.4 MB 2.8 MB/s
Installing collected packages: PyOpenGL
Successfully installed PyOpenGL-3.1.5
USDリポジトリのクローン
と、READMEには書いてありましたが、私はGithubページのLatest Releaseから、v20.11のzipソースをダウンロードし展開しました。
https://github.com/PixarAnimationStudios/USD/releases/tag/v20.11
ビルド
**********************************************************************
** Visual Studio 2017 Developer Command Prompt v15.9.10
** Copyright (c) 2017 Microsoft Corporation
**********************************************************************
[vcvarsall.bat] Environment initialized for: 'x64'

P:\Program Files (x86)\Microsoft Visual Studio\2017\Community>cd W:\Works\Programming\pxr\

P:\Program Files (x86)\Microsoft Visual Studio\2017\Community>pushd w:

W:\Works\Programming\pxr>C:\Python27\python.exe USD\build_scripts\build_usd.py "C:\USD"
ERROR: pyside-uic not found -- please install PySide and adjust your PATH.
(Note that this program may be named pyside-uic or python2-pyside-uic or pyside-uic-2.7 depending on your platform)
怒られました。pyside-uicはPath通す必要があるようです。のでパス通します。
W:\Works\Programming\pxr>set PATH=C:\Python27\Scripts;%PATH%
実行開始、15分ほどかかるみたいです。ドキドキ…。
...
30分か40分ぐらいかかりましたが成功しました!
W:\Works\Programming\pxr>C:\Python27\python.exe USD\build_scripts\build_usd.py "C:\USD"

Building with settings:
  USD source directory          W:\Works\Programming\pxr\USD
  USD install directory         C:\USD
  3rd-party source directory    C:\USD\src
  3rd-party install directory   C:\USD
  Build directory               C:\USD\build
  CMake generator               Default
  CMake toolset                 Default
  Downloader                    curl

  Building                      Shared libraries
    Config                      Release
    Imaging                     On
      Ptex support:             Off
      OpenVDB support:          Off
      OpenImageIO support:      Off
      OpenColorIO support:      Off
      PRMan support:            Off
    UsdImaging                  On
      usdview:                  On
    Python support              On
      Python 3:                 Off
    Documentation               Off
    Tests                       Off
    Examples                    On
    Tutorials                   On
    Tools                       On
    Alembic Plugin              Off
      HDF5 support:             Off
    Draco Plugin                Off
    MaterialX Plugin            Off

  Dependencies                  zlib, boost, TBB, GLEW, OpenSubdiv
STATUS: Installing zlib...
STATUS: Installing boost...
STATUS: Installing TBB...
STATUS: Installing GLEW...
STATUS: Installing OpenSubdiv...
STATUS: Installing USD...

Success! To use USD, please ensure that you have:

    The following in your PYTHONPATH environment variable:
    C:\USD\lib\python

    The following in your PATH environment variable:
    C:\USD\bin
    C:\USD\lib


W:\Works\Programming\pxr>
Python3.7でビルドしてみる
Python3で出来れば使いたいので、Python3でビルドしてみます。
Python3で同じように、PySide2(こちらは2)、PyOpenGLをpip installし、PATHにPython3のScriptへのパスを足します。(pyside2-uic.exe)
【追記】のちのち、カスタムのスキーマを作る際に必要な「usdGenScheme」は、jinja2というパッケージがないと生成されないようです。なので必要な方はpip install jinja2も。
【追記】PySide2のバージョンによっては、usdviewを起動したときにWarningが出るようです。 現在バージョンを指定しなければ5.15.1が入ってくるようですが、UsdShadersやUsdHydra、SdrGlslfxがImportできなかったと警告が出ます。 PySide2==5.12.2では大丈夫でした。
こちらにまとめました usdviewで嫌な感じのWarningが出る件
...
出来ました!
W:\Works\Programming\pxr>python -m pip install --upgrade pip
Collecting pip
  Using cached https://files.pythonhosted.org/packages/cb/28/91f26bd088ce8e22169032100d4260614fc3da435025ff389ef1d396a433/pip-20.2.4-py2.py3-none-any.whl
Installing collected packages: pip
  Found existing installation: pip 19.2.3
    Uninstalling pip-19.2.3:
      Successfully uninstalled pip-19.2.3
Successfully installed pip-20.2.4

W:\Works\Programming\pxr>python USD\build_scripts\build_usd.py "C:\USDpy3"

Building with settings:
  USD source directory          W:\Works\Programming\pxr\USD
  USD install directory         C:\USDpy3
  3rd-party source directory    C:\USDpy3\src
  3rd-party install directory   C:\USDpy3
  Build directory               C:\USDpy3\build
  CMake generator               Default
  CMake toolset                 Default
  Downloader                    curl

  Building                      Shared libraries
    Config                      Release
    Imaging                     On
      Ptex support:             Off
      OpenVDB support:          Off
      OpenImageIO support:      Off
      OpenColorIO support:      Off
      PRMan support:            Off
    UsdImaging                  On
      usdview:                  On
    Python support              On
      Python 3:                 On
    Documentation               Off
    Tests                       Off
    Examples                    On
    Tutorials                   On
    Tools                       On
    Alembic Plugin              Off
      HDF5 support:             Off
    Draco Plugin                Off
    MaterialX Plugin            Off

  Dependencies                  zlib, boost, TBB, GLEW, OpenSubdiv
STATUS: Installing zlib...
STATUS: Installing boost...
STATUS: Installing TBB...
STATUS: Installing GLEW...
STATUS: Installing OpenSubdiv...
STATUS: Installing USD...

Success! To use USD, please ensure that you have:

    The following in your PYTHONPATH environment variable:
    C:\USDpy3\lib\python

    The following in your PATH environment variable:
    C:\USDpy3\bin
    C:\USDpy3\lib


W:\Works\Programming\pxr>
Python3で動作チェックしてみる
#usda 1.0
()

def Cube "cube" {}
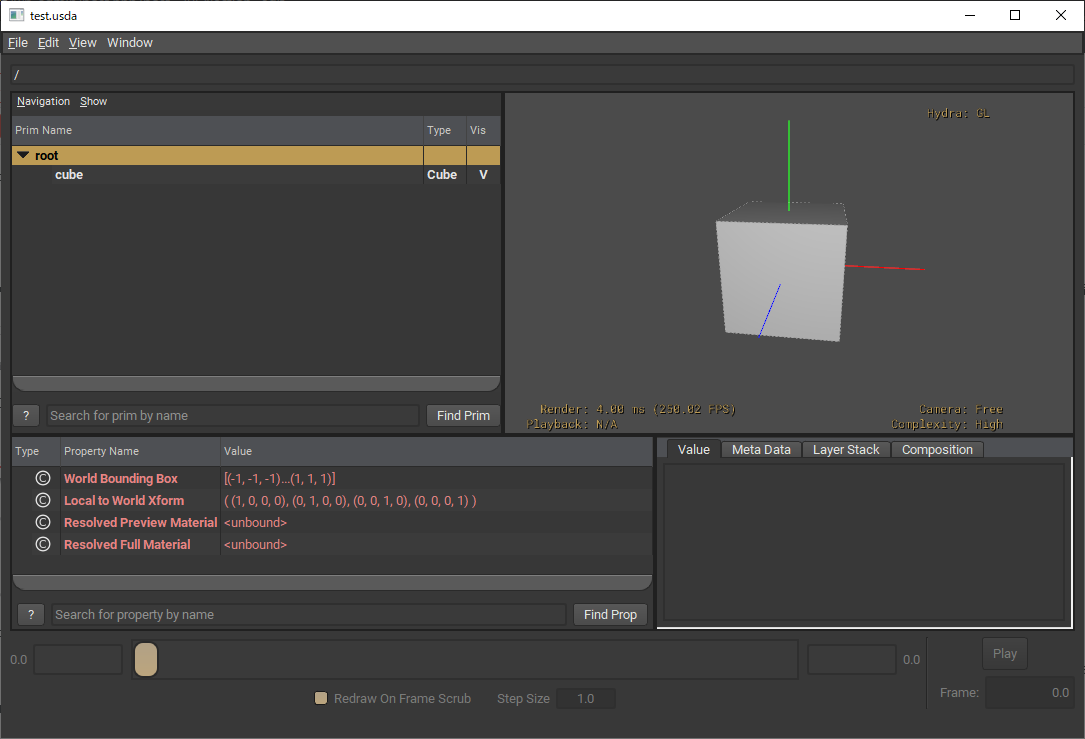
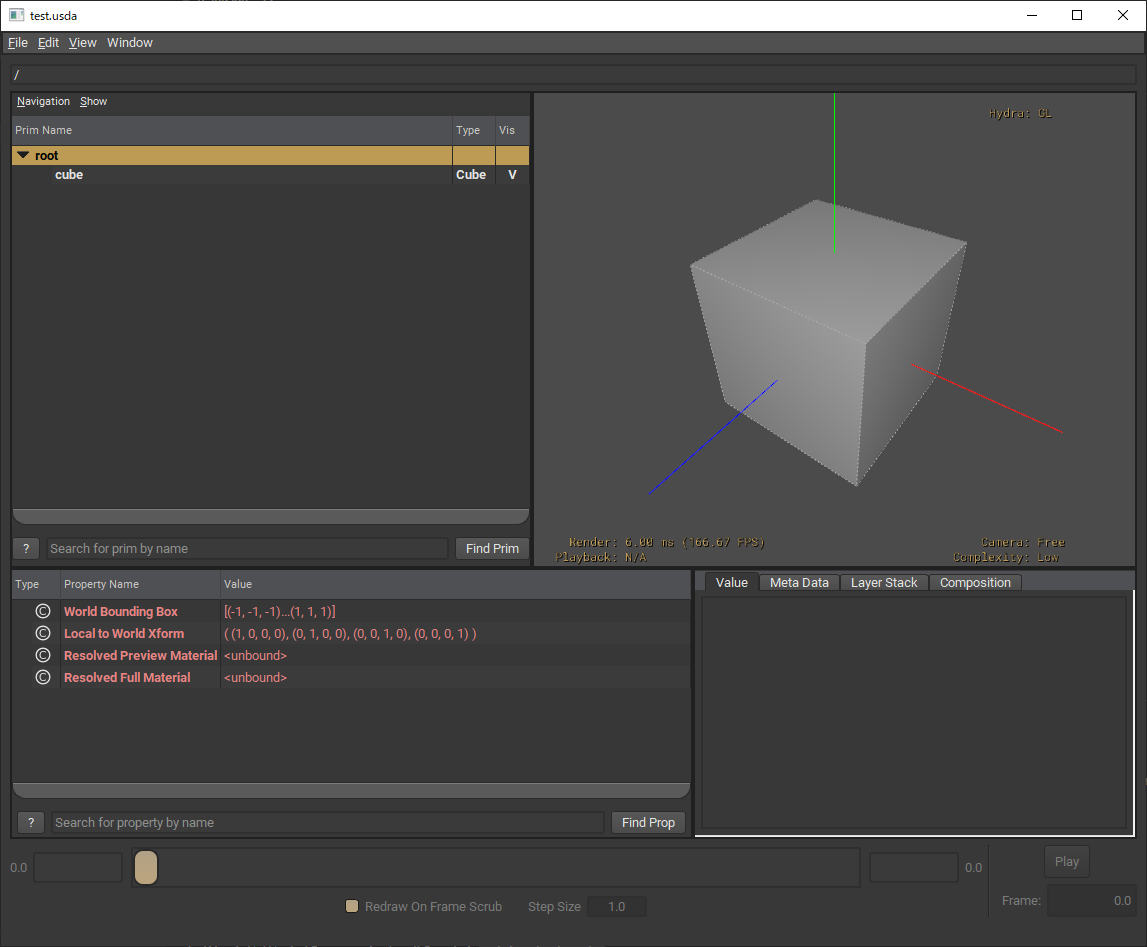
とだけ書いたtest.usdaを用意します。
プロンプトを開いて、コマンドに出ているように、しかるべきパスをPYTHONPATHと、PATHにそれぞれ追加してから、
> usdview test.usda
で、usdviewが開くと思います。
とても簡単でした。良かった!皆さんも良きusdライフを。

